

eClipboard: Workflow
eClipboard allows patients to fill out forms electronically in the office.
One-Time Setup
The following must be set up prior to using eClipboard.
- Sign up for the eClipboard service. See eServices Signup.
- Determine eClipboard settings. See eClipboard Setup.
- Enable consent forms to show in Patient Forms. See Patient Forms.
- Enable mobile layout for any sheets you want to use in eClipboard. See Edit Mobile Sheet Def.
- Ensure the patient has an appointment scheduled for today.
Manually Send Forms to eClipboard
To manually send forms to eClipboard (such as consent forms) do the following:
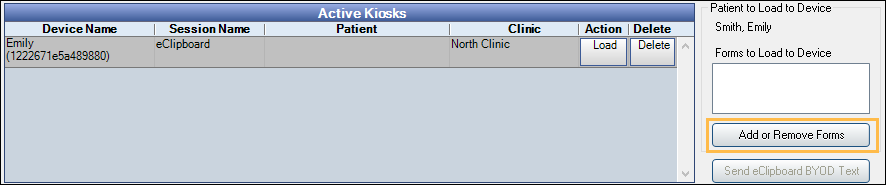
- Select the patient to load forms for.
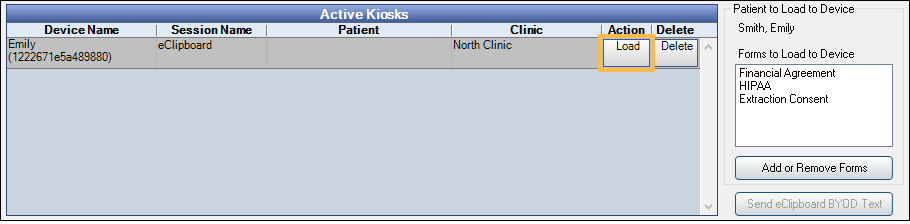
- In the Kiosk Manager, highlight the device, then click Add or Remove Forms.
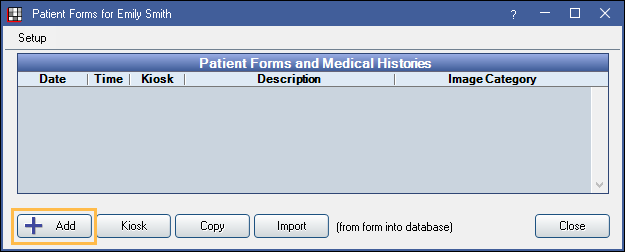
- In the Patient Forms window, click Add.
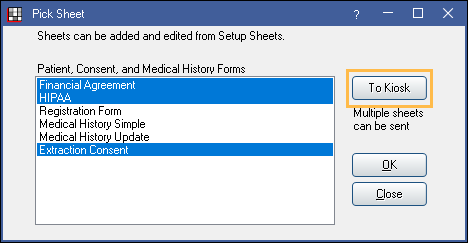
- Select the forms to send to eClipboard, then click To Kiosk.
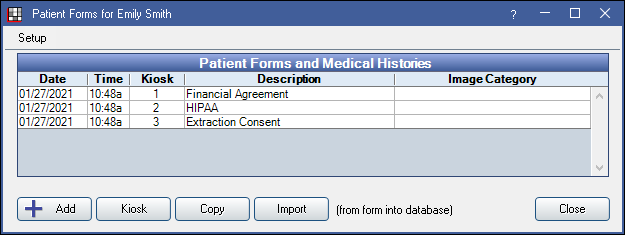
- The selected forms will show in the Patient Forms window. The kiosk column will be filled with their order. Click Close to return to the Kiosk Manager.
- In the Kiosk Manager, the forms will list on the right. Click Load to send them to the selected device. They will open in the eClipboard app.
Automatically Send Forms to eClipboard
If using the eClipboard App to allow patient check-in, forms can be automatically loaded. These forms are determined in eClipboard Setup.
On the eClipboard App, the patient will login using their first name, last name, and birthdate. Once they confirm their appointment time, the forms will automatically populate.
iOS Forms Workaround
On 10/20/2022, iOS eClipboard users notified Royal dental Software Support of problems sending forms to the eClipboard device.
Royal dental Software has released a fix for this issue in iOS eClipboard Version 1.7.38. Users will need to update eClipboard on each device, as well as update to Royal dental Software version 22.2.49 or 22.3.19 or greater to utilize the fix.
To load forms after updating:
- In eClipboard Setup, enable Allow self check-in.
- Add forms for the patient using steps 1 through 5 above under Manually Send Forms to eClipboard. Alternatively, forms can be added automatically by setting them up in eClipboard Setup.
- For each patient, enter the patient details to navigate to the Check-in Checklist.
- Forms will load in the Check-in Checklist. The patient can fill forms as normal.
- If forms are added or removed, click Refresh in eClipboard to see changes.