

Ortho
Chart orthodontic hardware and track ortho treatment progress from the Ortho tab.
In the Chart Module, click the Ortho tab.

From the Ortho tab, providers can chart orthodontic treatment and track progress. Users can choose to see only information relating to the patient's orthodontic treatment and hide general chart notes and procedures.
In Ortho Setup, enable Show Ortho button and tab in Chart module to use this feature.
Filters

Tooth chart ortho mode: Determines the view of the odontogram.
- Checked: Enables tooth chart ortho mode in the Ortho tab only. The odontogram will display the facial view of the teeth only.
- Unchecked: Disables tooth chart ortho mode in the Ortho tab.
Show Ortho grids: Determine if the ortho grids or progress notes are shown.
- Checked: Shows the Hardware and Ortho Chart Tabs. Progress Notes are hidden.
- Unchecked: Shows Progress Notes. Hardware and Ortho Chart Tabs are hidden.
Show Graphics: Determine if ortho graphics (e.g., brackets) are shown on the graphical tooth chart.
- Checked: Ortho graphics are enabled in all tabs of the Chart Module.
- Unchecked: Ortho graphics are disabled in all tabs of the Chart Module.
Show Exam Date: The exam date corresponding to the hardware listed in the Hardware tab. Click to view a different exam date. Adding new hardware, prescriptions, or copying from an existing exam will create a new exam with today's date.
Hardware
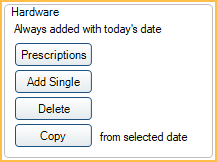
Prescriptions: Click to add new Ortho Prescriptions to the patient. The Select Ortho Prescription window will open.
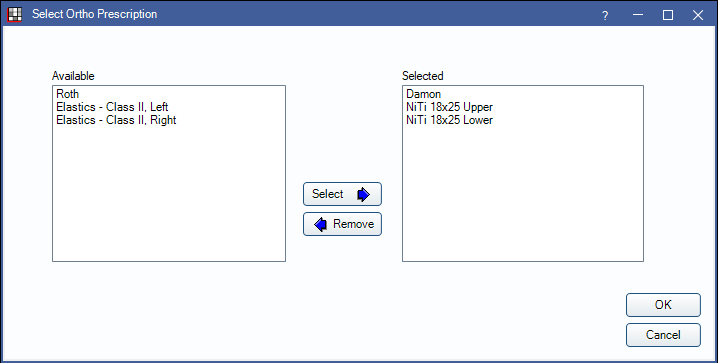
- Highlight prescriptions from the Available list.
- Click Select to move to the Selected list.
- Highlight items from the Selected list and click Remove to remove prescription(s) from the list. Multiple prescriptions can be added to the Selected list.
- Click OK to add the selected Ortho Prescriptions to the patient's chart.
- Click Cancel to close the window without adding any prescriptions to the chart.
Add Single: Select teeth and click to add Ortho Hardware. The Add Ortho Hardware window will open.
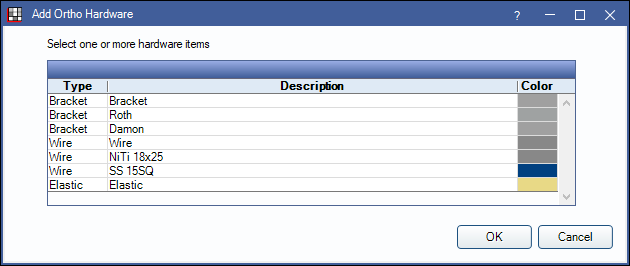
- Select hardware to add. Multiple hardware types can be selected (Click and drag or Ctrl + click to select multiple).
- Click OK to add.
- Click Cancel to close the window without adding.
Delete: Select hardware items from the grid and click to delete. Press Ctrl + click or click and drag to choose multiple items.
Copy: Select an exam date and hardware items from the grid and click to copy to today's date. Press Ctrl + click to choose multiple items. If no items are selected, all items from the previous exam date will be copied to today's date.
Hardware Tab
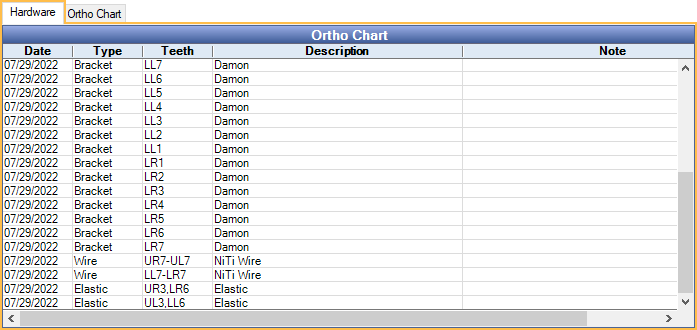
Displays all hardware information for the selected exam date.
Double-click a hardware item to edit information or delete hardware.
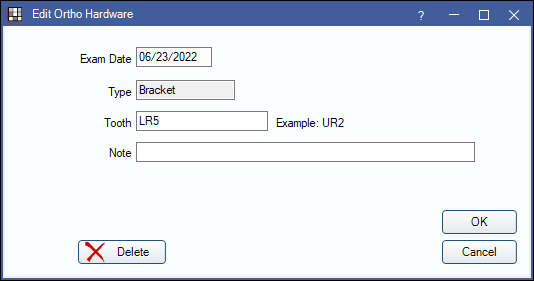
Right-click selected rows to delete hardware.
Ortho Chart Tab
Displays the Ortho Chart.
Double-click to launch the Ortho Chart window. From here, users can edit or add a new entry to the Ortho Chart.