

CEMT Security
In the Central Enterprise Management Tool ( CEMT ), click Setup, Security.
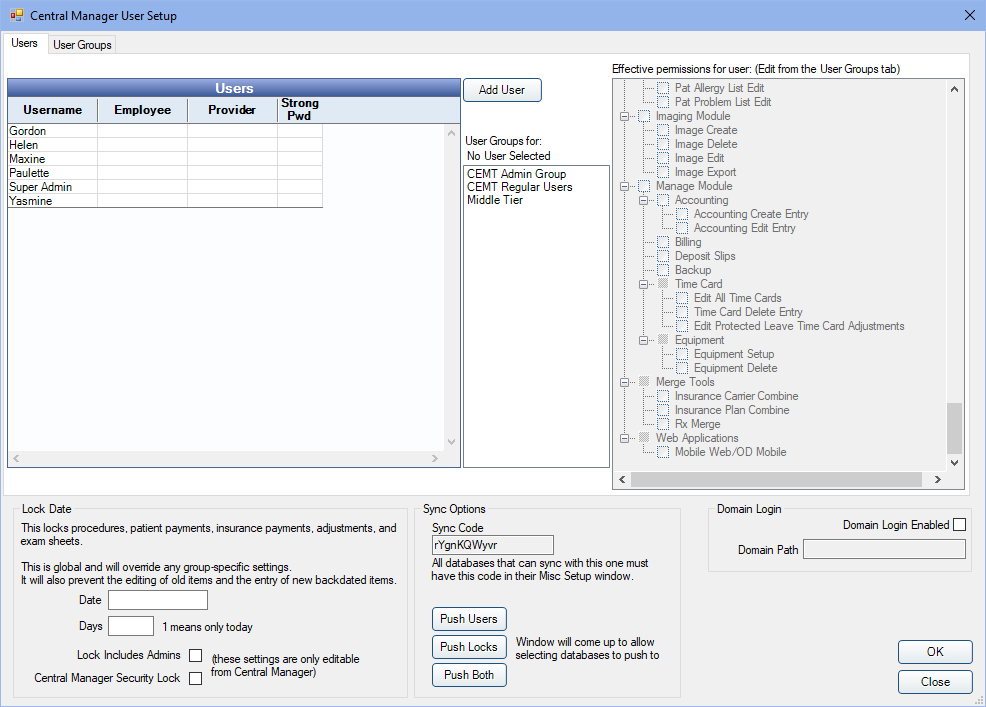
CEMT security settings allow you to control security settings for database connections. Set up users, assign users to groups, assign permissions to user groups, and enter a lock date for procedures, payments, adjustments, and exam sheets.
- CEMT users are different from regular Royal dental Software users. CEMT users are created from within the CEMT tool and can access all connected databases using their CEMT credentials.
- A CEMT user's Royal dental Software permissions are based on their CEMT permissions and can only be set from within the CEMT, not within the database connection.
- For a CEMT user to show on a connected database at log in, the user must be associated with a user group that was created from the CEMT tool.
- Because the Central Manager database (dbcentral) contains information about multiple connections, including encrypted passwords, we advise placing extra security around the MySQL installation. Edit the MySQL service and change the login information from local system to a specific user. The database files can then be encrypted by Windows while still allowing the MySQL service to run when the proper Windows user is logged in. See MySQL Security.
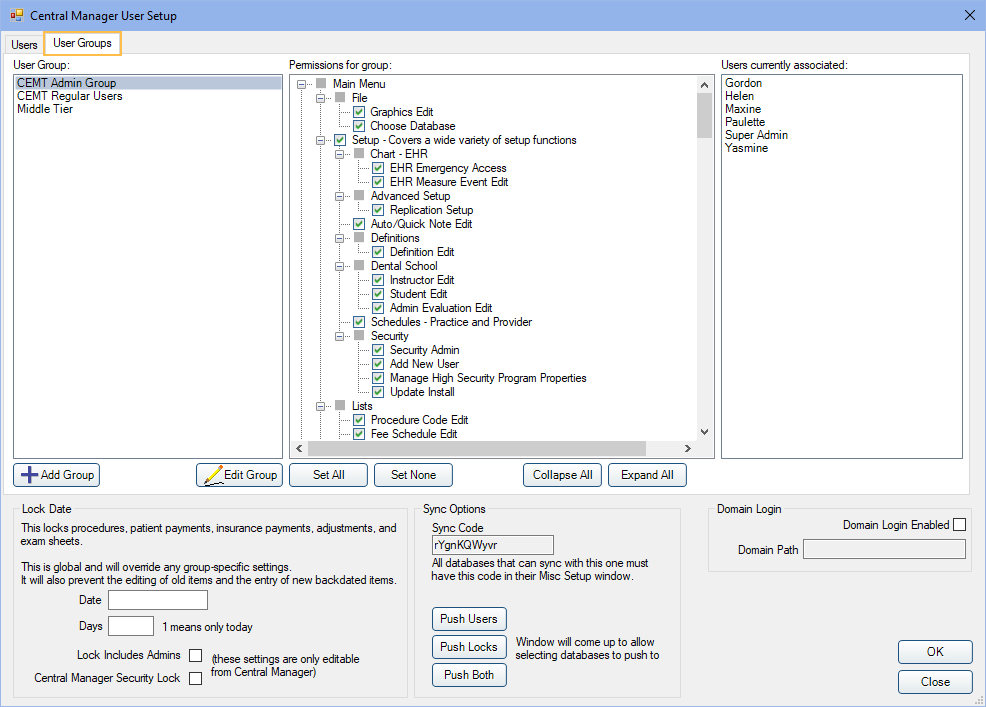
Create or Edit User Groups
Users are placed into a User Group then each User Group is granted a set of permissions.
- On the Central Manager User Edit window, click the User Groups tab.
- Click Add Group, or double-click a group to change its name or delete it.
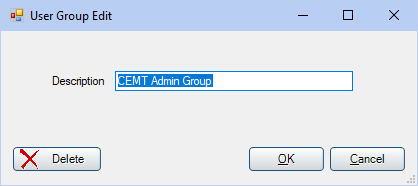
- Enter the user group description, then click OK to save.
Add or Edit a User
CEMT users have access to all connected databases. They are created in the CEMT tool and will be able to log into a database by using their set credentials.
- On the Central Manager User Edit window, click Add User in the center to add a new user, or double-click an existing user to edit information.
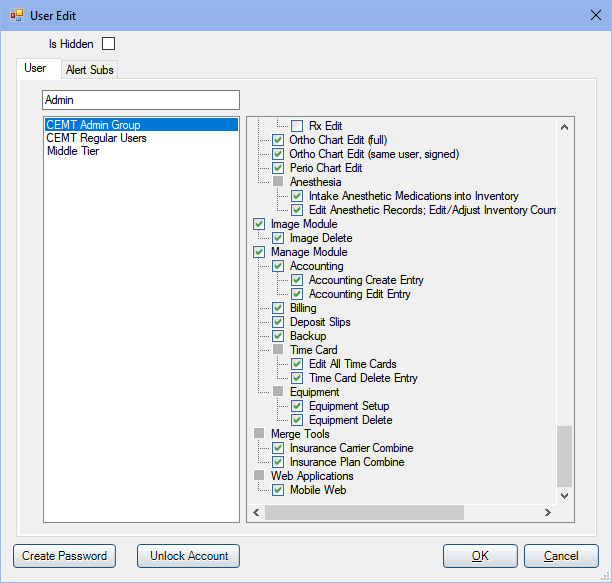
- Click the User tab.
- Enter the user's unique user name in the box.
- Highlight the user group.
- The CEMT user name must be unique and different from the names of regular users so that when CEMT users are pushed to a database, it does not cause confusion.
- CEMT users can be associated to providers, employees, and a DoseSpot ID when accessed from the Security window within Royal dental Software. These fields are not pushed to other databases within CEMT.
Create Passwords
For security purposes, each user should have a secure password.
- On the User Edit window, click Create Password or Change Password, or from the main CEMT window go to File, Change Password.
- If prompted, enter the user's current password (blank if it is new).
- Enter the new password. By default, passwords display as asterisks (*). To show the New Password as text, check the Show box.
- Click OK to save.
The password is contained in dbcentral as a hash. This means there is no way to decrypt the password by looking in the database, and there is no way to recover a lost password other than deleting it from the database directly.
Users can also change their own passwords while logged on. See CEMT Passwords, Changing Passwords for the Logged On User.
Unlock an Account
After more than five consecutive failed attempts to log on to Royal dental Software or the Mobile Web, a user will be temporarily locked out for five minutes or until the account is manually unlocked.
- On the User Edit window, click Unlock Account.

- Click OK. A confirmation will show.
- Click OK.
The user can attempt to log on again.
Subscribe to Alerts
When subscribed to Alerts, a user will receive alerts for all clinics.
- On the User Edit window, click the Alert Subs tab.

- Highlight the alerts to subscribe the user.
- Click OK to save.
Remove a User
Users can't be deleted, but you can hide their user profile so they do not show when logging in to the CEMT.
- On the User Edit window, check Is Hidden.
Assign Permissions
Permissions are assigned to user groups. See Permissions.
- In the User Groups tab, select the group you wish to change permissions for.
- Check/uncheck the Permission boxes on the right. Checked means the permission is allowed; unchecked means the permission is blocked.
- Set All: Click to automatically check all permissions except Security Admin.
- Set None: Click to automatically uncheck all permissions.
CEMT users are required to have the Setup permission when attempting to set up connections, set up groups, set up reports, add a new connection, or edit an existing connection.
To run CEMT reports, users must have the Reports permission and the Production and Income - View All Providers permission.
Set Lock Dates
Security Lock Dates prevent users from editing of procedures, patient payments, insurance payments, adjustments, and exam sheets after a certain date. They also prevent backdating of new items. You can lock information by a specific date, or in a certain amount of days:
- Date: Changes will only be allowed if they occur before this date.
- Days: Changes will only be allowed within this amount of days from the original entry date.
Other options:
- Lock includes Admins: Check this box to apply the lock date limitation to users in the Admin user group.
- Central Manager Security Lock: Check this box to block users from entering Global Lock Dates on local databases.
Lock dates set in the CEMT tool can be applied to database connections, thus overwriting any local Global Lock Dates. See Sync Options below.
Sync Options
Syncing security settings will apply the settings to database connections. The Sync Code of the CEMT database lists under the list of permissions. This unique code applies to this CEMT database only. All database connections which can be synced to the CEMT database will have this same code listed under Setup, Miscellaneous, Sync code for CEMT.
There are three sync options:
- Push Users: Pushes users, user groups, alert subscriptions, and permissions from CEMT to each database.
- Push Locks: Pushes lock dates. This will override any local Global Lock Dates.
- Push Both: Pushes both user info and lock dates.
When you select a sync option, a list of database connections will show.
Select the database connections to sync security settings with, then click OK to sync.
Domain Login
Allow users to login automatically via their Windows domain user. See Single Sign-On / Domain Login for details.